Drawing Mode
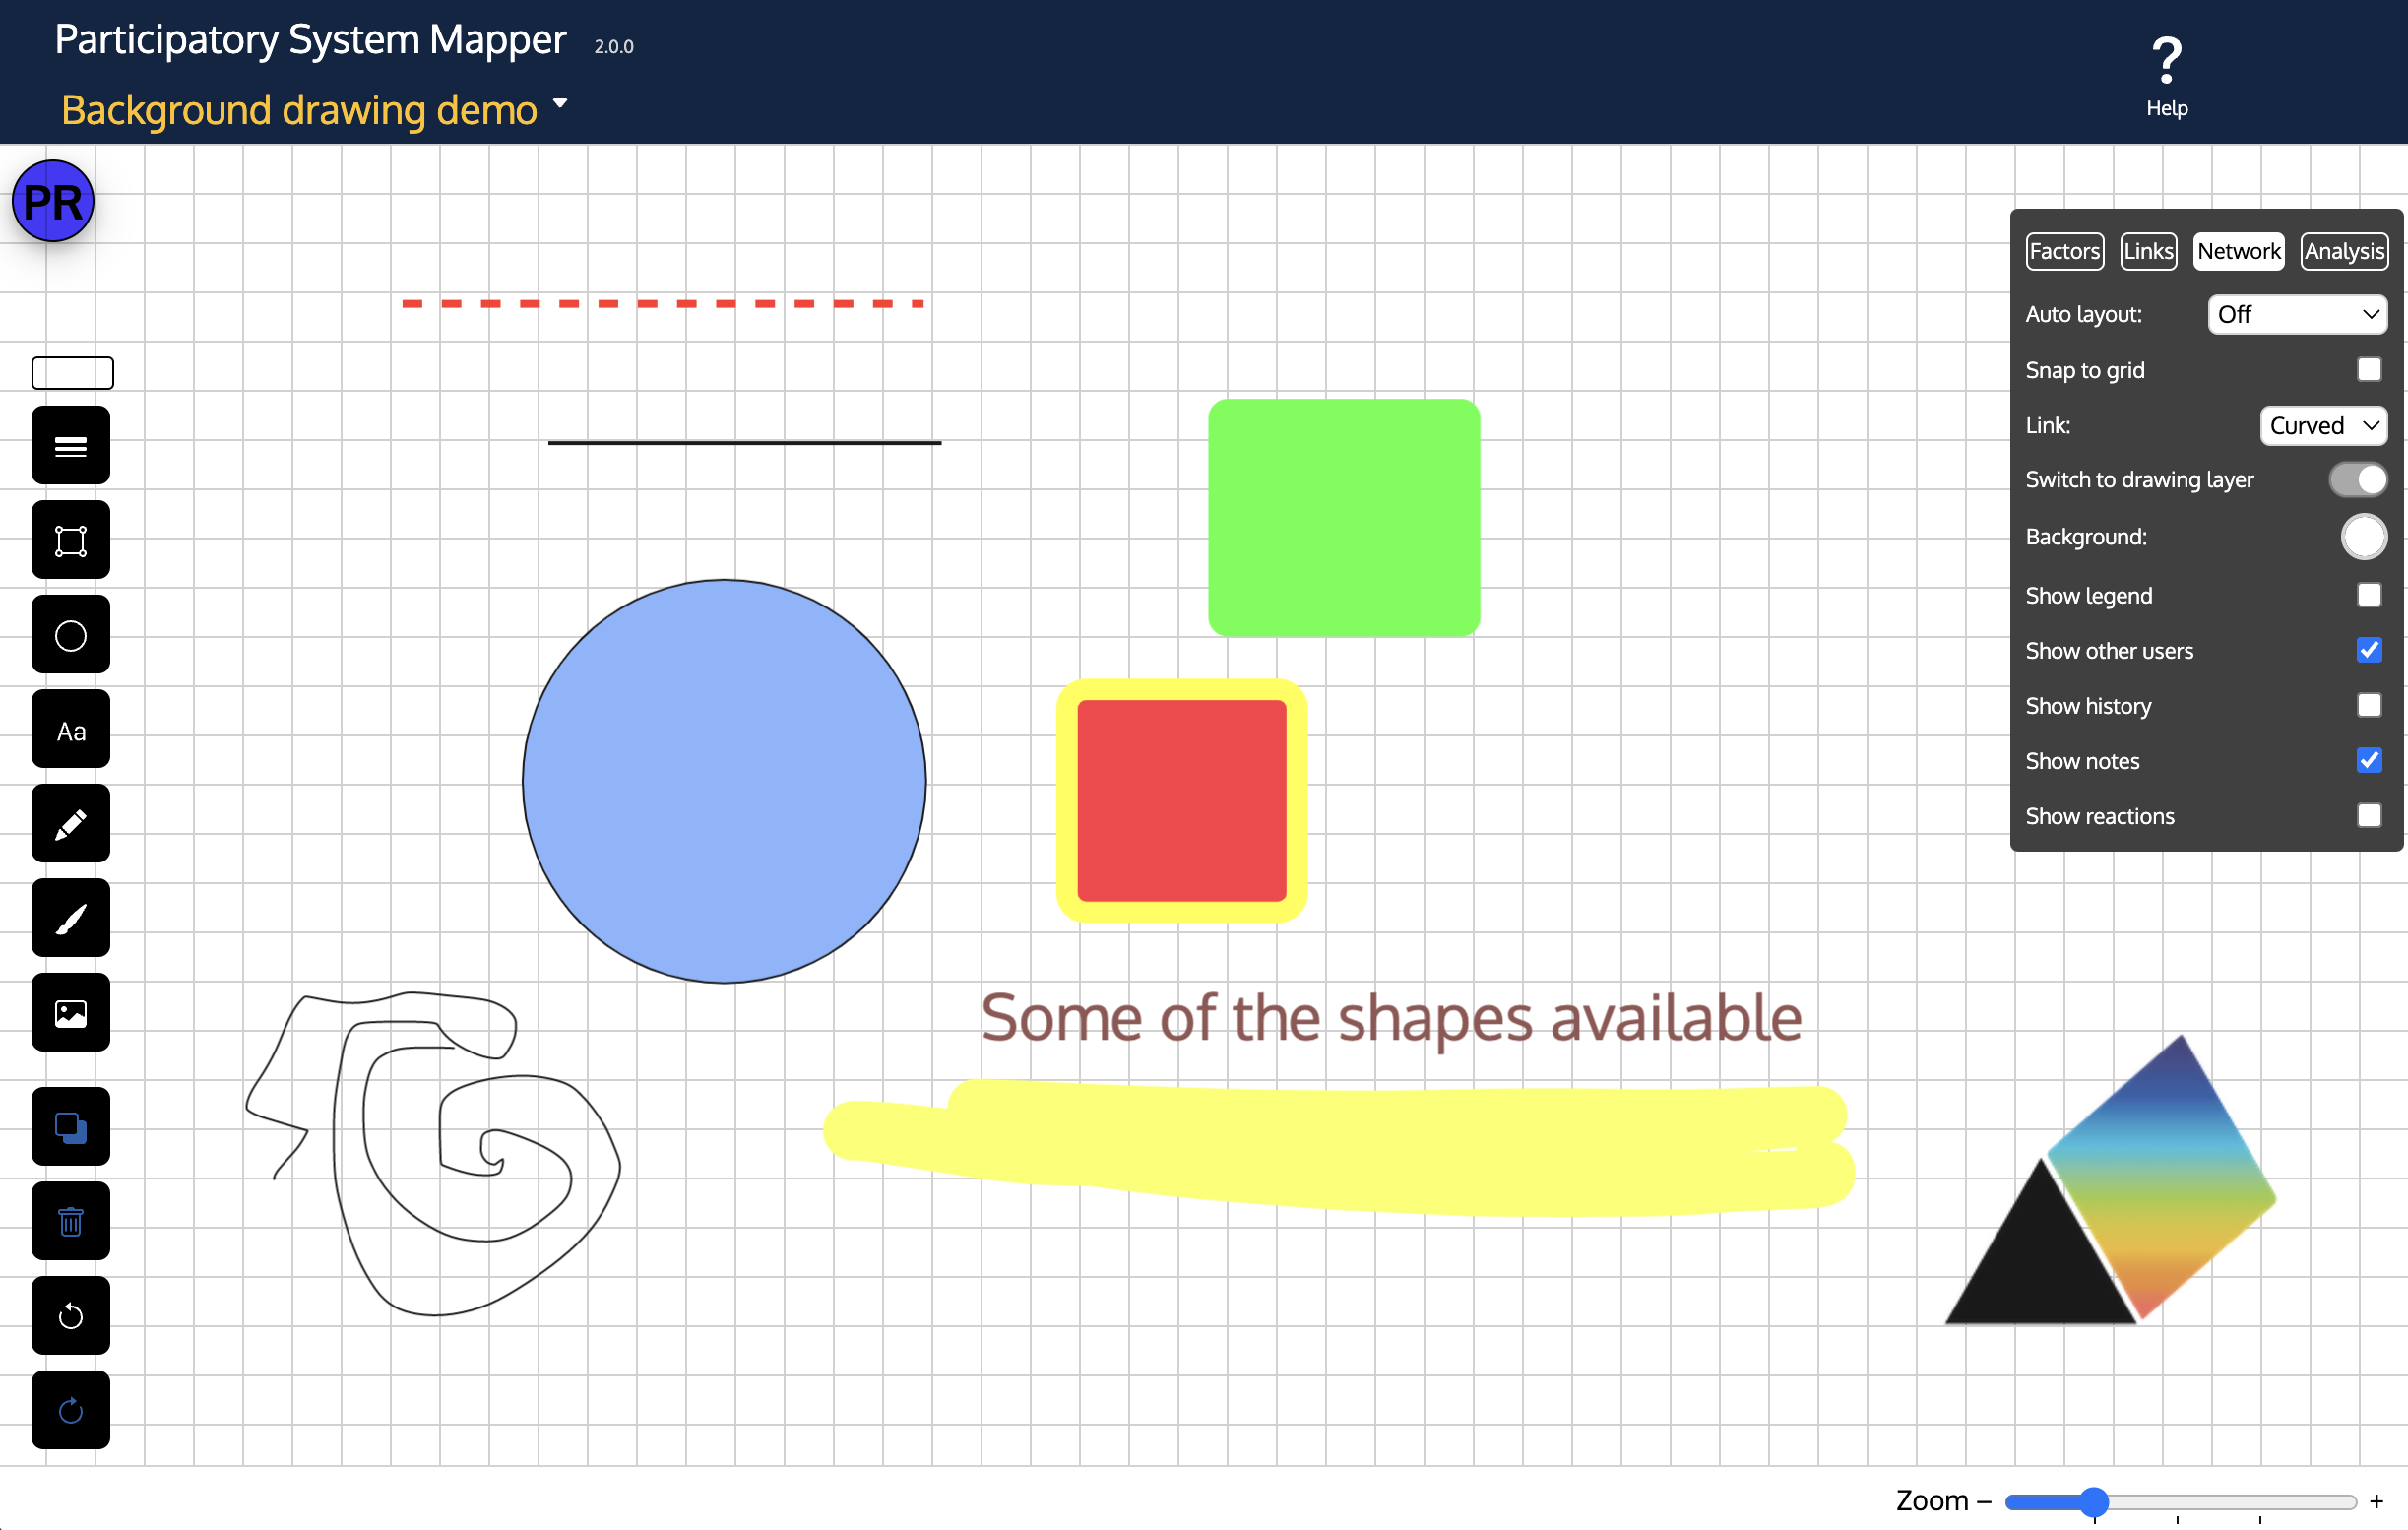
Switching 'Switch drawing layer' ON reveals a group of buttons on the left that enables you to draw shapes, write text, and import images onto the network background.
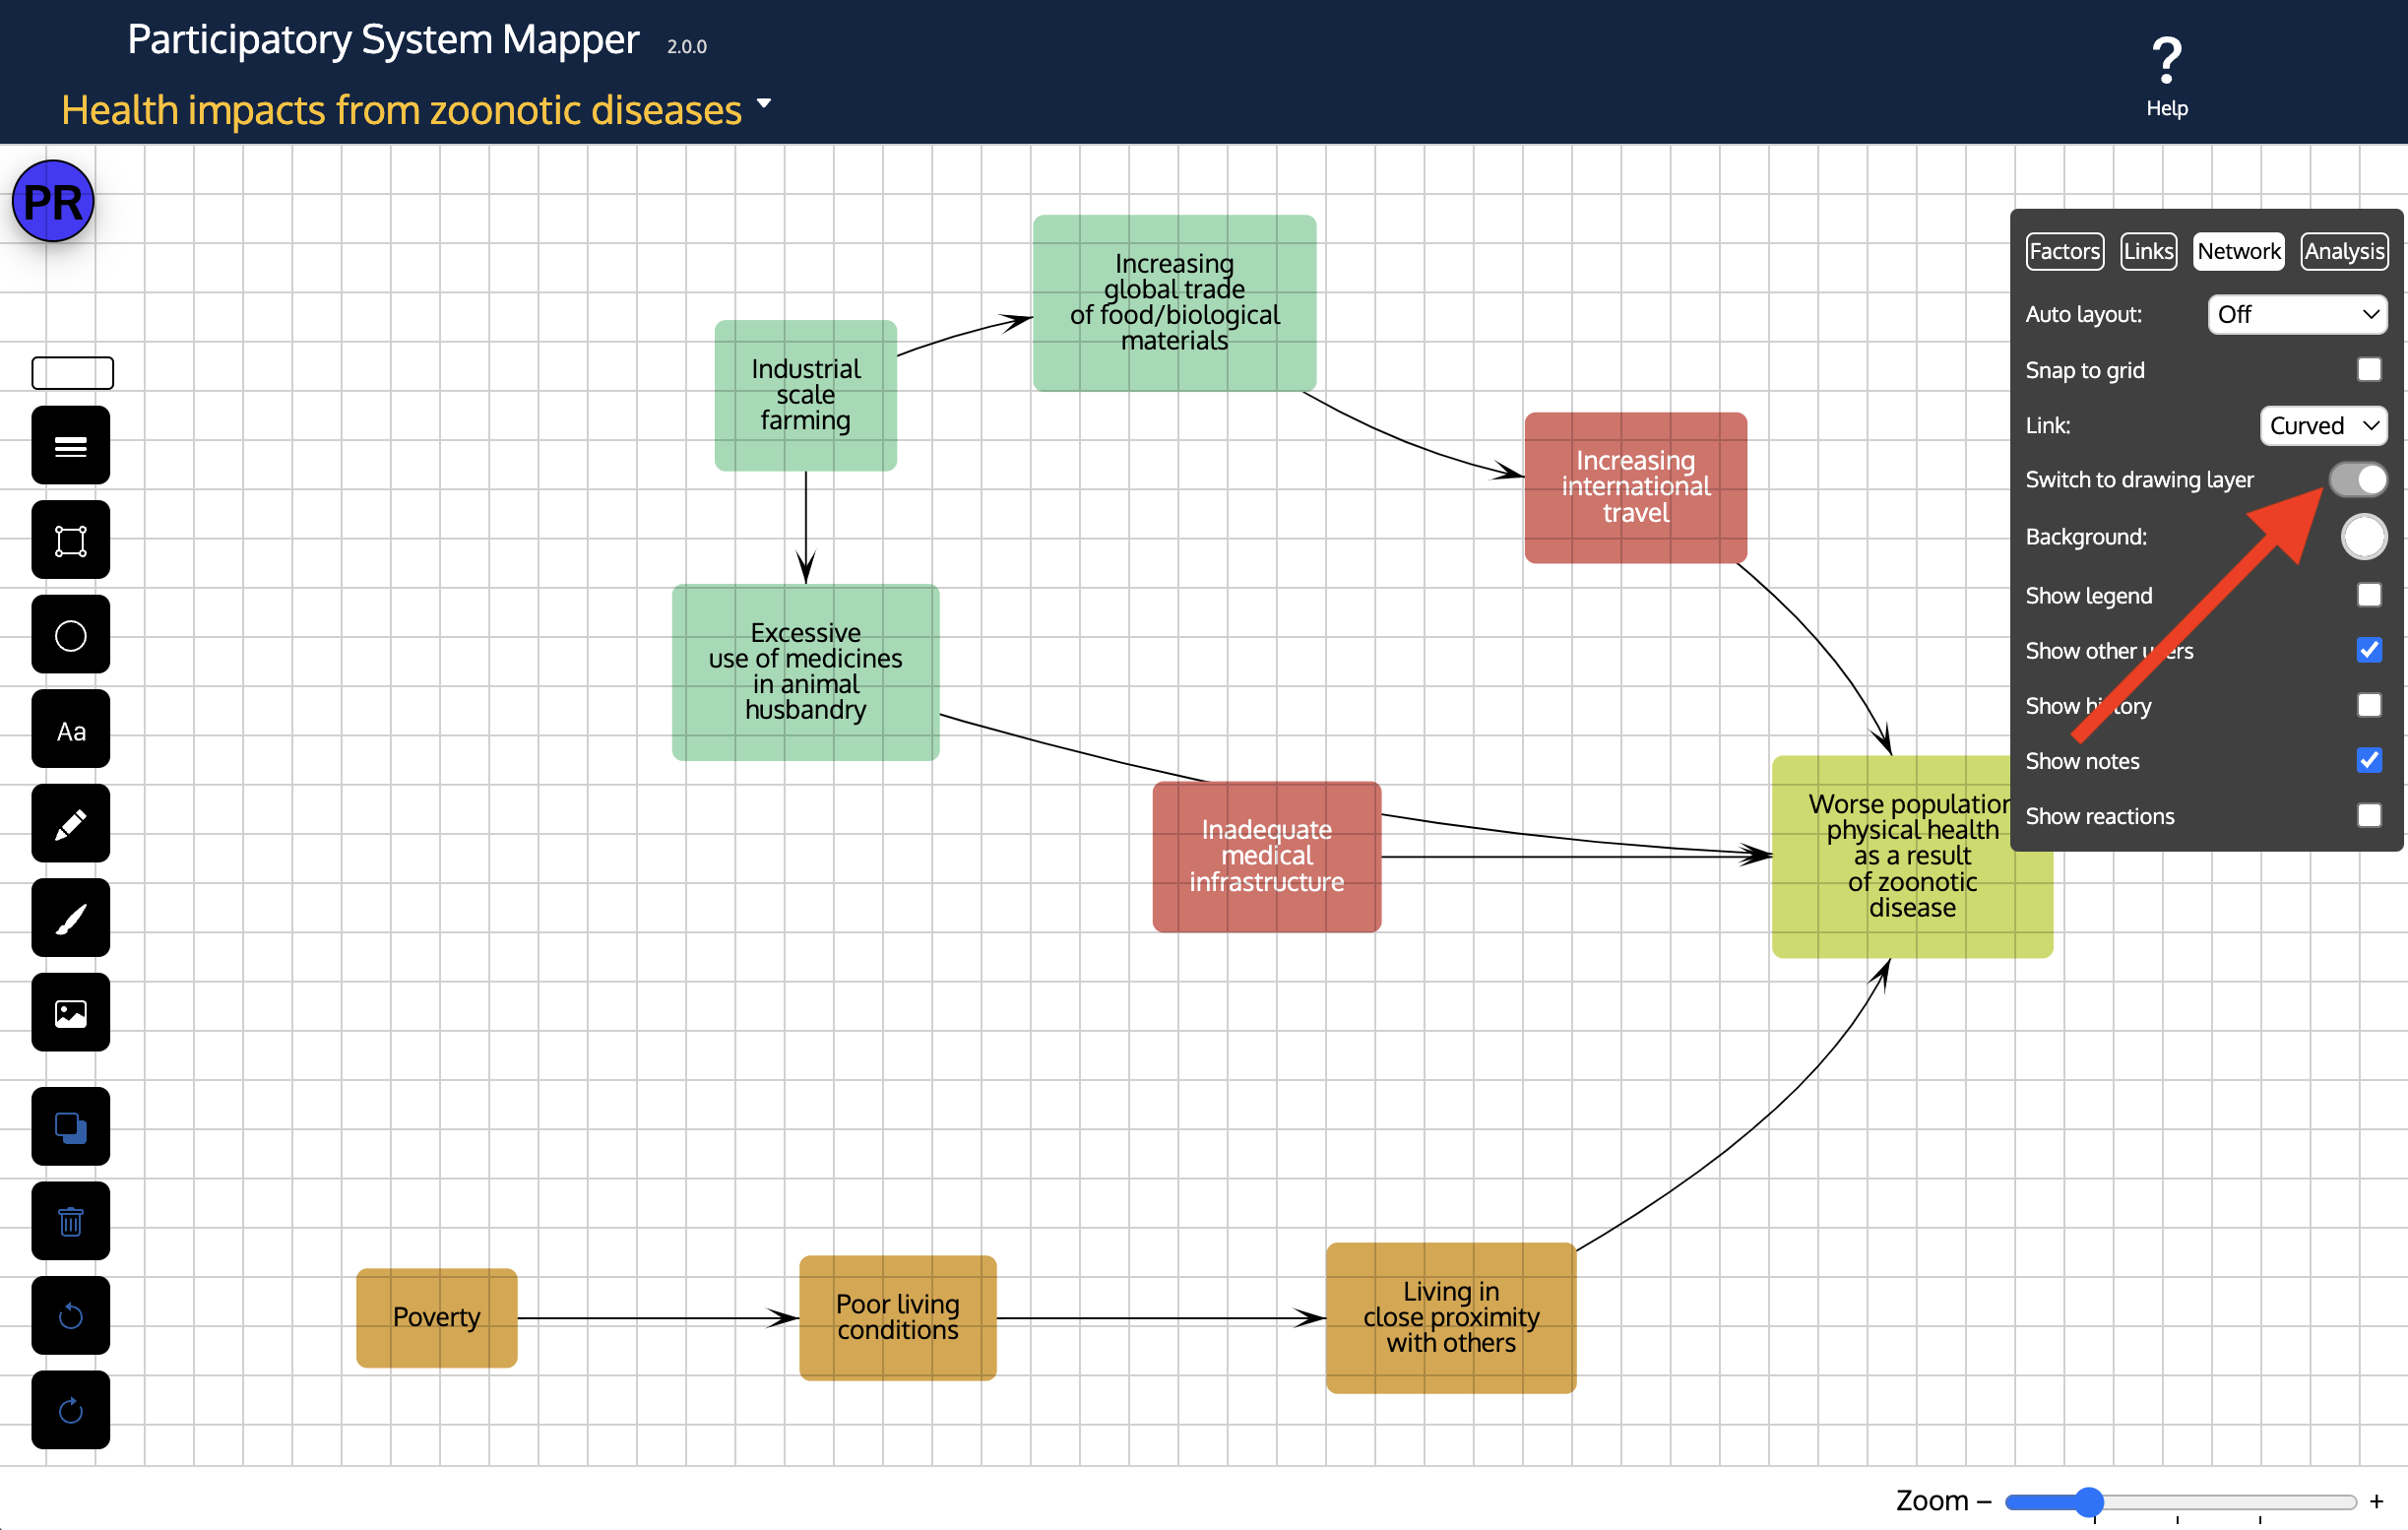
In drawing mode, the background has a faint square grid to help you line up your drawing.
The zoom slider at the bottom left of the window can be used to zoom in and out. Double clicking on the background sets the zoom level to 1.
Drag over the background grid to move the drawing within the window.
When you click on some of the drawing buttons, a small dialog box appears that can be used to adjust the drawing tool. For instance, the Line tool, which draws straight lines, has options for the line thickness, line colour and a couple more.
To stop using a tool, either click on another one, or click a second time on that tool's button.
Above the column of buttons is a rectangle outline. This is a 'handle' for the buttons. Dragging the handle moves all the buttons together to a new spot in the window - useful if you want to draw where the buttons were.
Moving and modifying objects
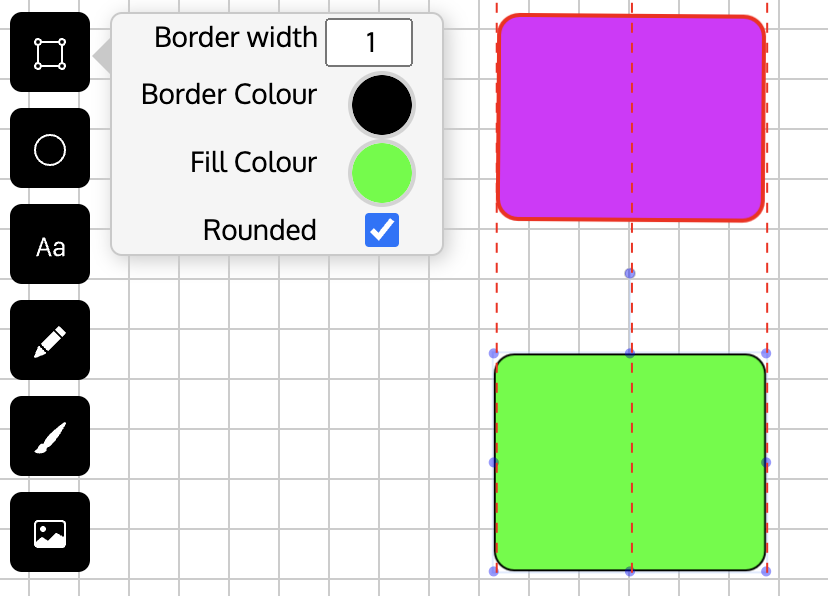
Once you have drawn an object (a straight line, or a rectangle, circle, freeform line or marker line), you can select it by clicking on it. The cursor will change to a cross. Using the mouse (or a stylus or finger), you can move the object around. To aid in aligning objects, when a side or end is just above or below or to the left or right of another object, red dotted guide lines will appear and the object will momentarily 'stick' on the alignment. For a finer control of the position, use the arrow keys on the keyboard (up, down, left and right).
Click on the background to deselect the object.
Once an object has been selected, you can change its shape or orientation, and its colour and other characteristics. To change the fill or border colours, click in the corresponding colour well and choose a new colour. 'White' in the colour well is rendered as transparent, i.e. you will be able to see through the shape. To get a non-transparent white shape, choose a shade very slighly different from white. Coloured shapes are shown as slightly translucent, so that you can see the factors and links on the map behind them. When you exit from drawing mode, the shapes will get their full colours and the network will appear in front of the shapes.
Drag one of the small blue dots (control points) to change an object's height or width. Drag the dot above the object to the left or right to rotate it.
The drawing tools
The drawing tools are, in order from top to bottom:
- Line draws straight lines. There are options for the line width, the colour of the line, whether it is solid or dashed, and whether the line can be at any angle or must be either exactly horizontal or vertical. To use the tool, first adjust the options, for example, set the colour of the line, then click on the background at the desired start position and drag across to where you want the line to end. When the line has been drawn, you can select it by clicking on it. This redisplays the options so that you can modify the line, for example to make it thicker.
- Rectangle The options are the width of the border around the rectangle and the border's colour, the colour of the inside of the rectangle (the 'fill' colour) and whether it should have rounded or sharp corners. To draw a rectangle, click where one corner should be, then drag to where the opposite corner should be.
- Text Use this tool to add text to the background. The options are the colour and size of the text. Click on the background to position a text box into which you can type. Then type your text (to replace the the sample Text). Click anywhere outside the box to finish. The text can continue over several lines.
- Pencil draws freehand lines.
- Marker draws lines like a marker or highlighter pen.
- Image Clicking on this tool gives you a file chooser to select an image file (picture) from your computer - JPG, PNG and GIF formats are accepted. When the image has been placed on the background, you can drag it to where you want it, and resize it using the control points (small blue dots at the corners). Click anywhere outside the image when you have got it into the right location.
- Group This groups objects so that they move together (see below for details).
- Delete Deletes (erases) the selected object(s). The Delete key on the keyboard can also be used.
- Undo This tool will undo the effect of the last action (e.g. if you have just placed an image on the background, it will remove the image, if you have drawn a line with the pencil, it will undo that line, or if you have moved a rectangle, it will undo the move). Each click of the Undo button removes one previous drawing action. ⌘Z or ⌃Z can also be used.
- Redo Reverses the action of the previous Undo, e.g. restoring the removed image. ⌘Y or ⌃Ycan also be used.
Grouping objects
A single object can be selected by clicking on it. To select more than one object hold down the Shift key and click on each object to be included in the selection.
You can then move, expand or shrink, or rotate the selected objects togther as a group as though they were one object.
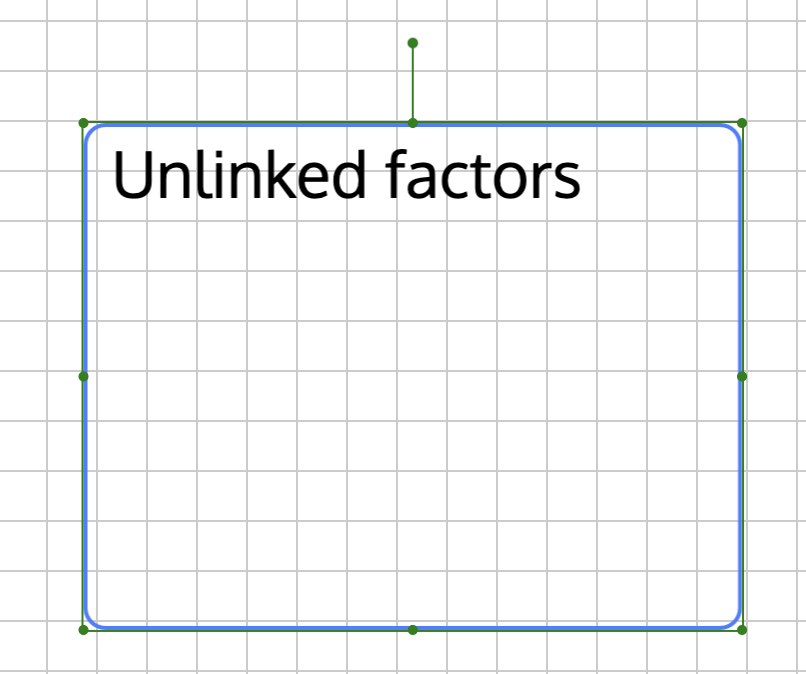
The grouping only lasts until you click on the background to cancel the selection. To make the group permanent, select the objects and then click on the Group button . To ungroup a group, select the group and click on the Group button again.
Grouping is often useful to combine a textual label with a shape, for example:
Moving shapes to the front or back
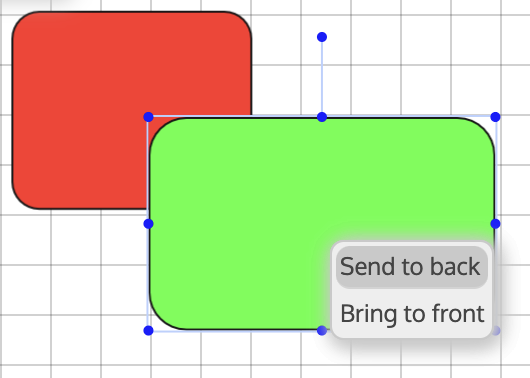
If two shapes overlap, you can move one to be in the front of the other. Right clicking on an object brings up a popup menu, of 'Send to back ' and 'Bring to front'. Choose one to alter which shape is in front.
